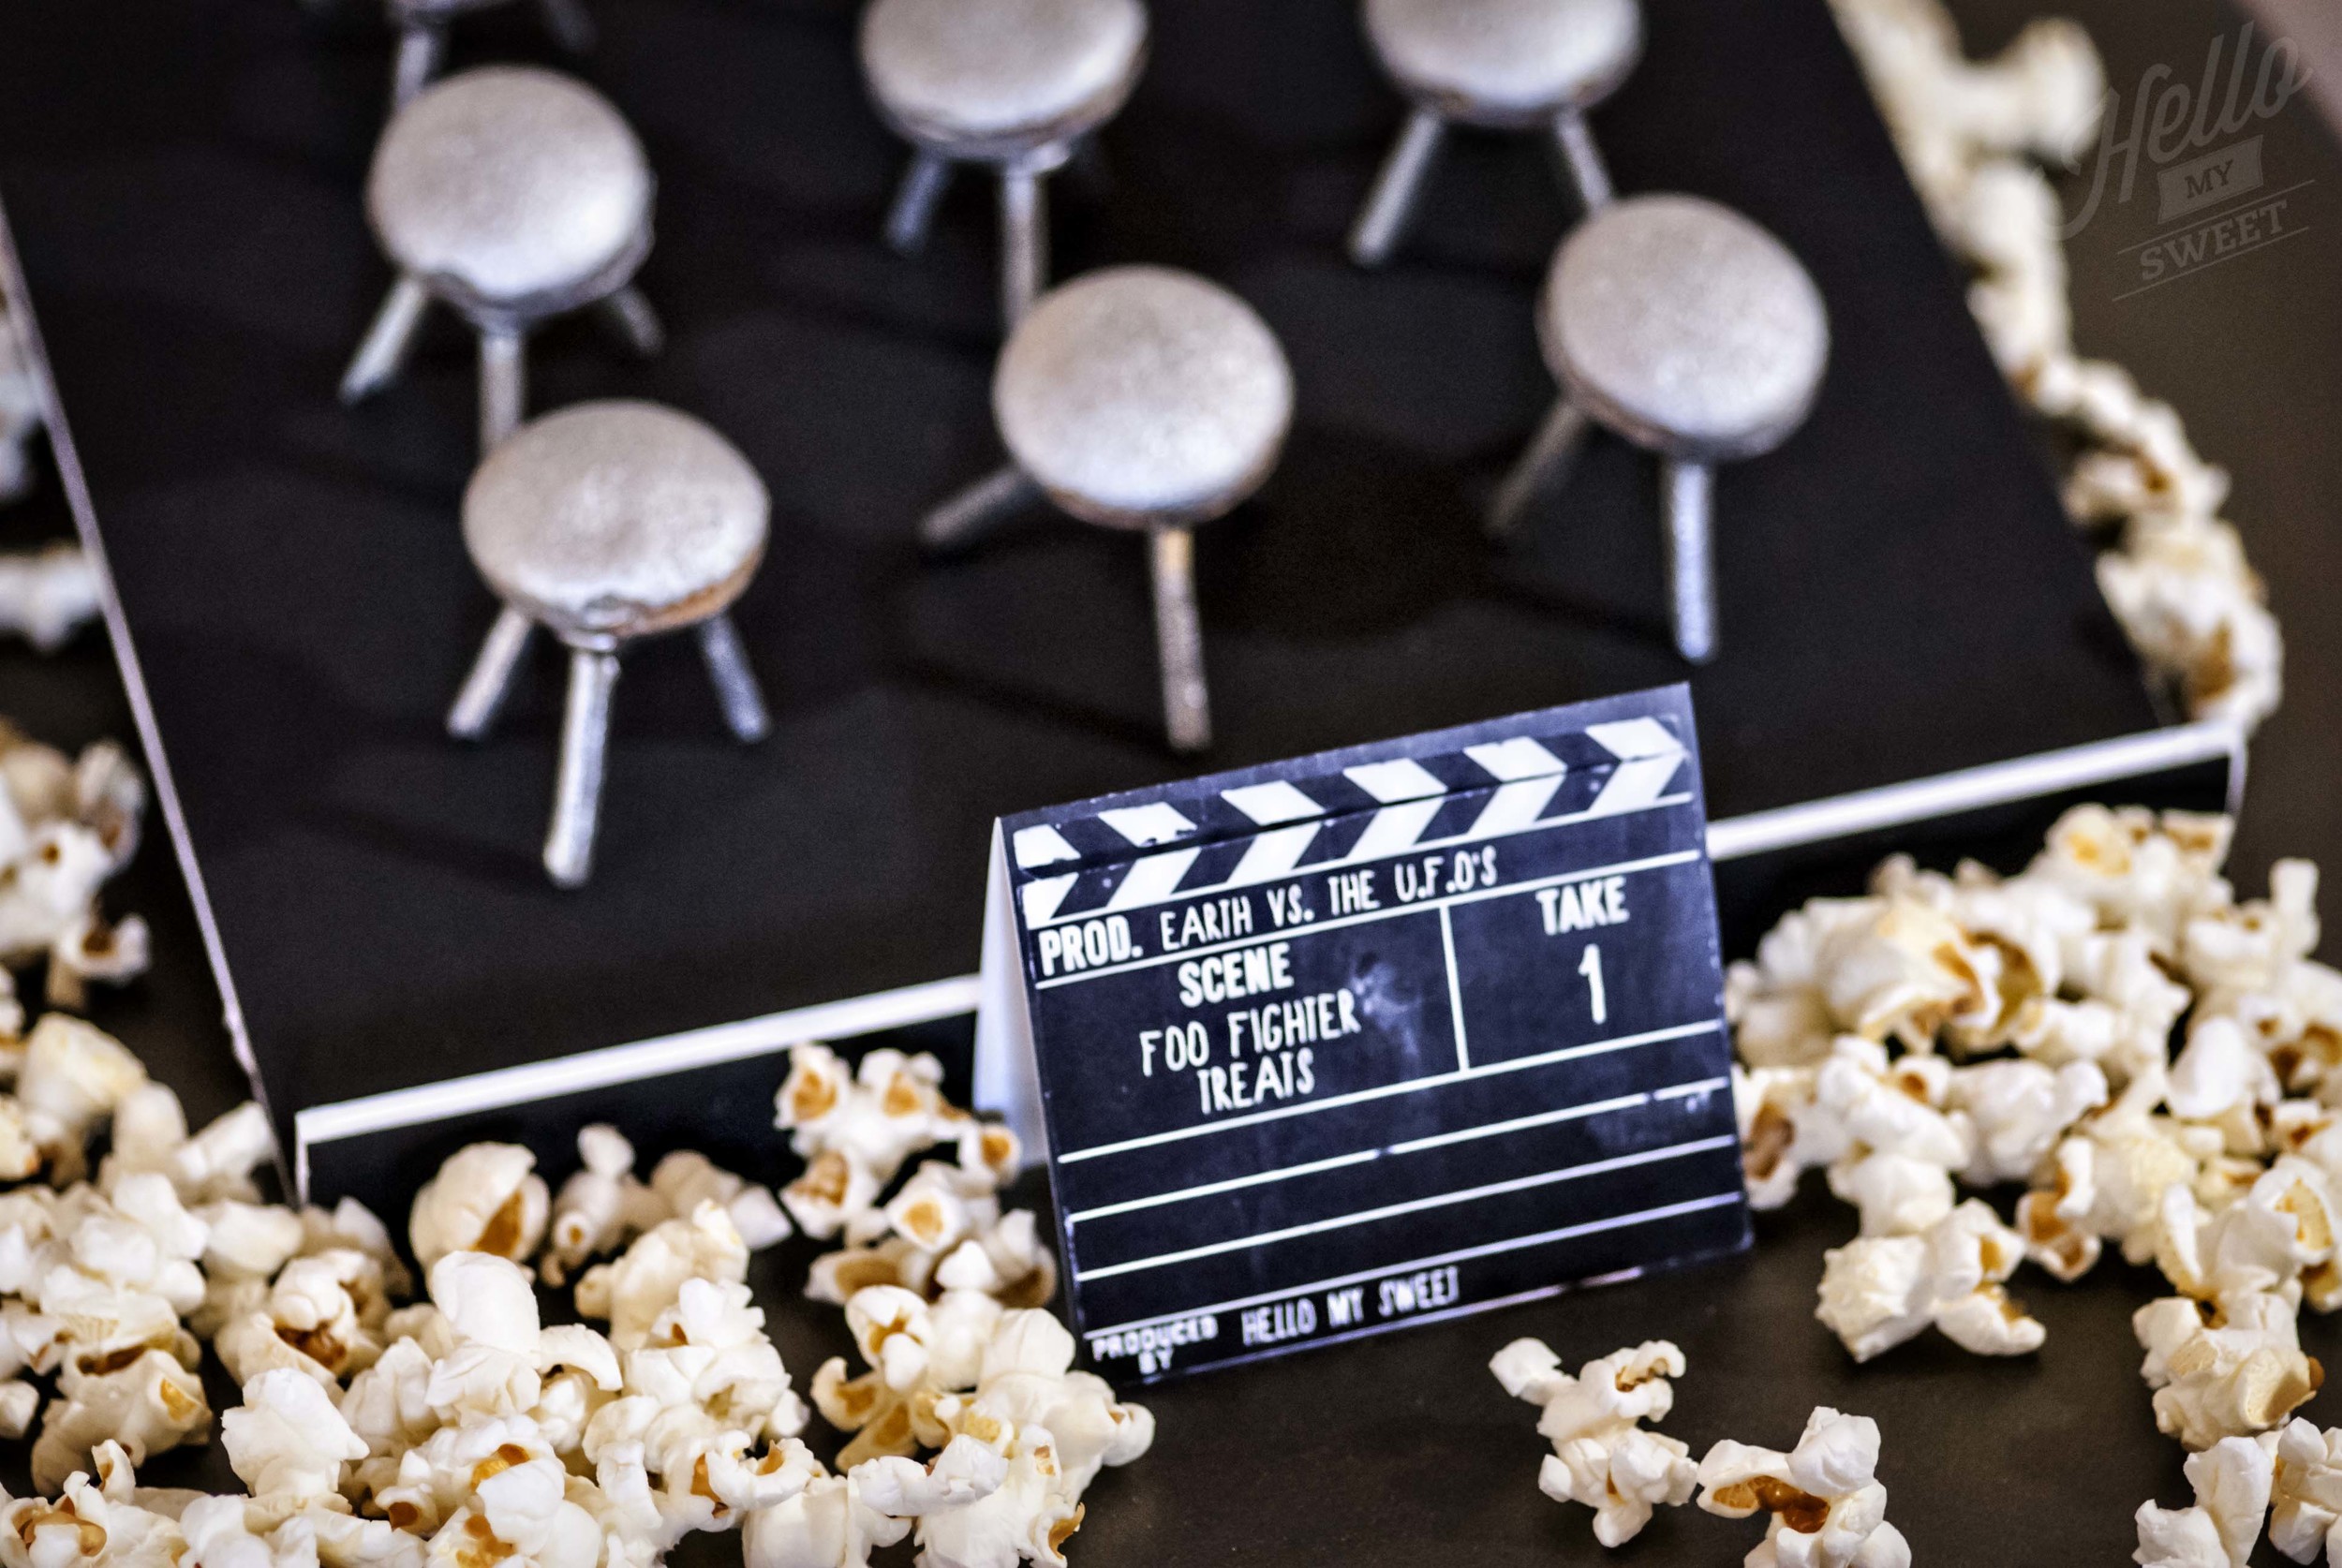
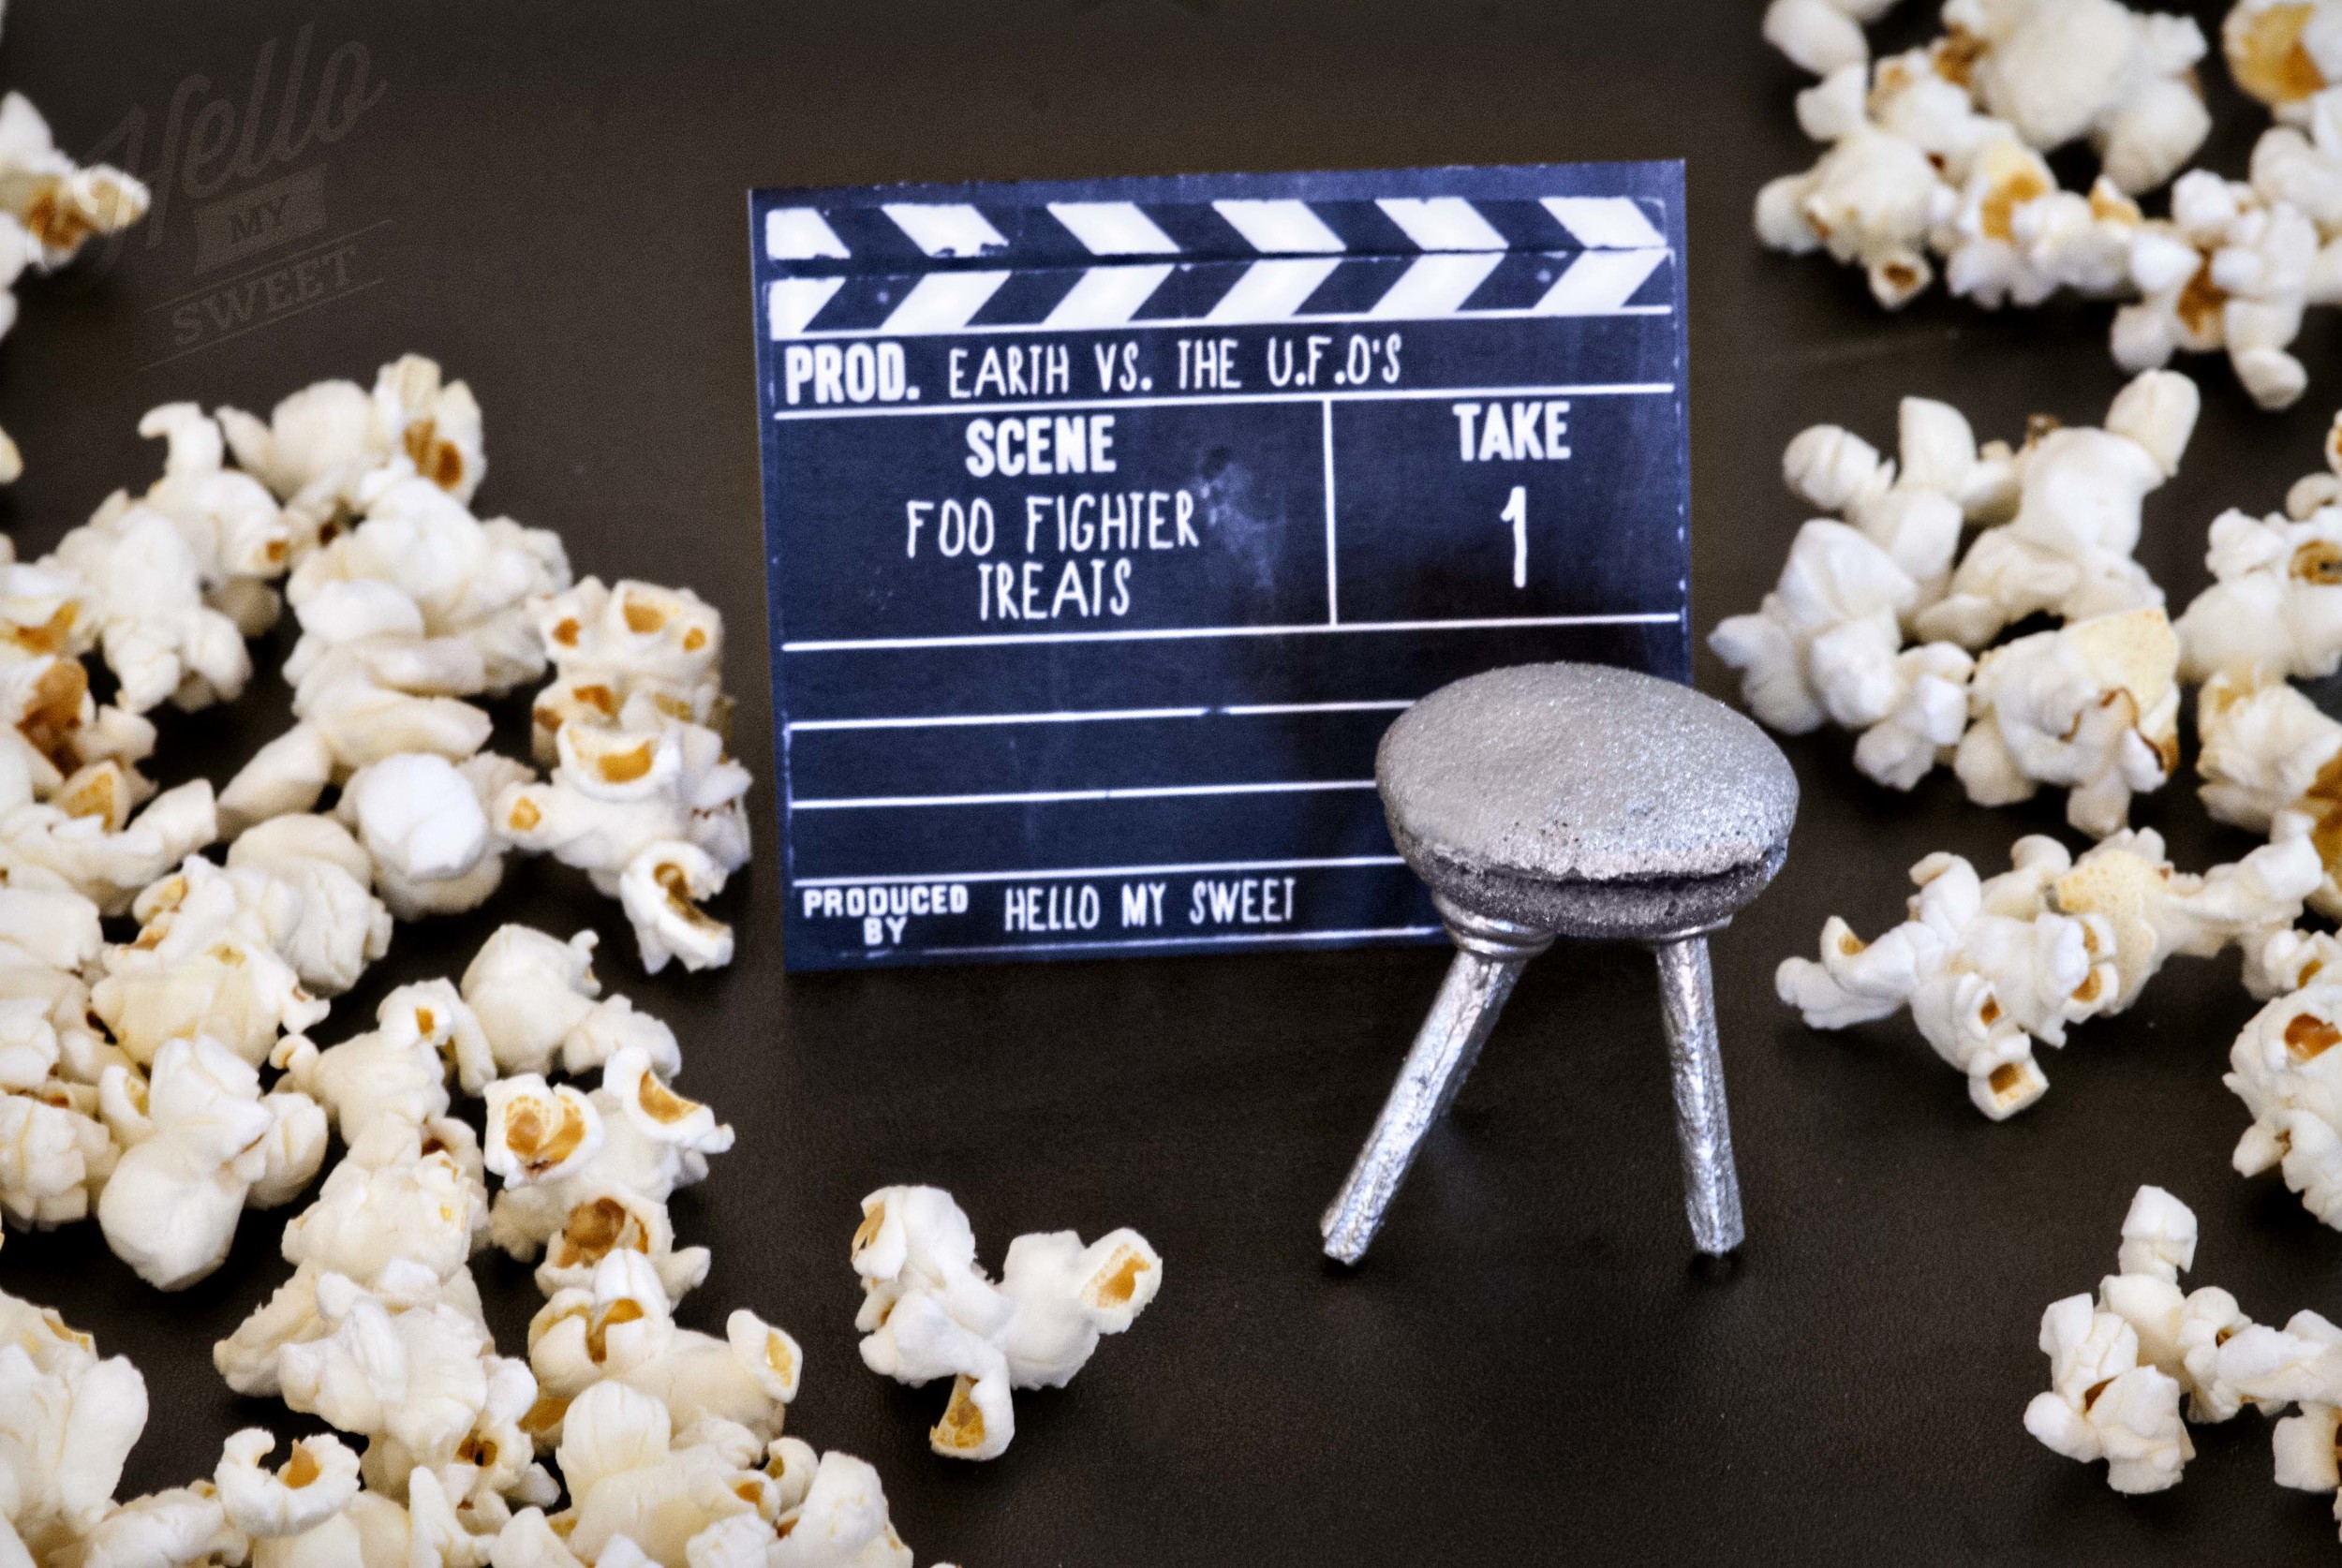
Foo Fighter Treats
Foo Fighter Treats
The term foo fighter was used by Alliedaircraft pilots in World War II to describe various UFOs or mysterious aerial phenomena seen in the skies over both the European and Pacific Theater of Operations.
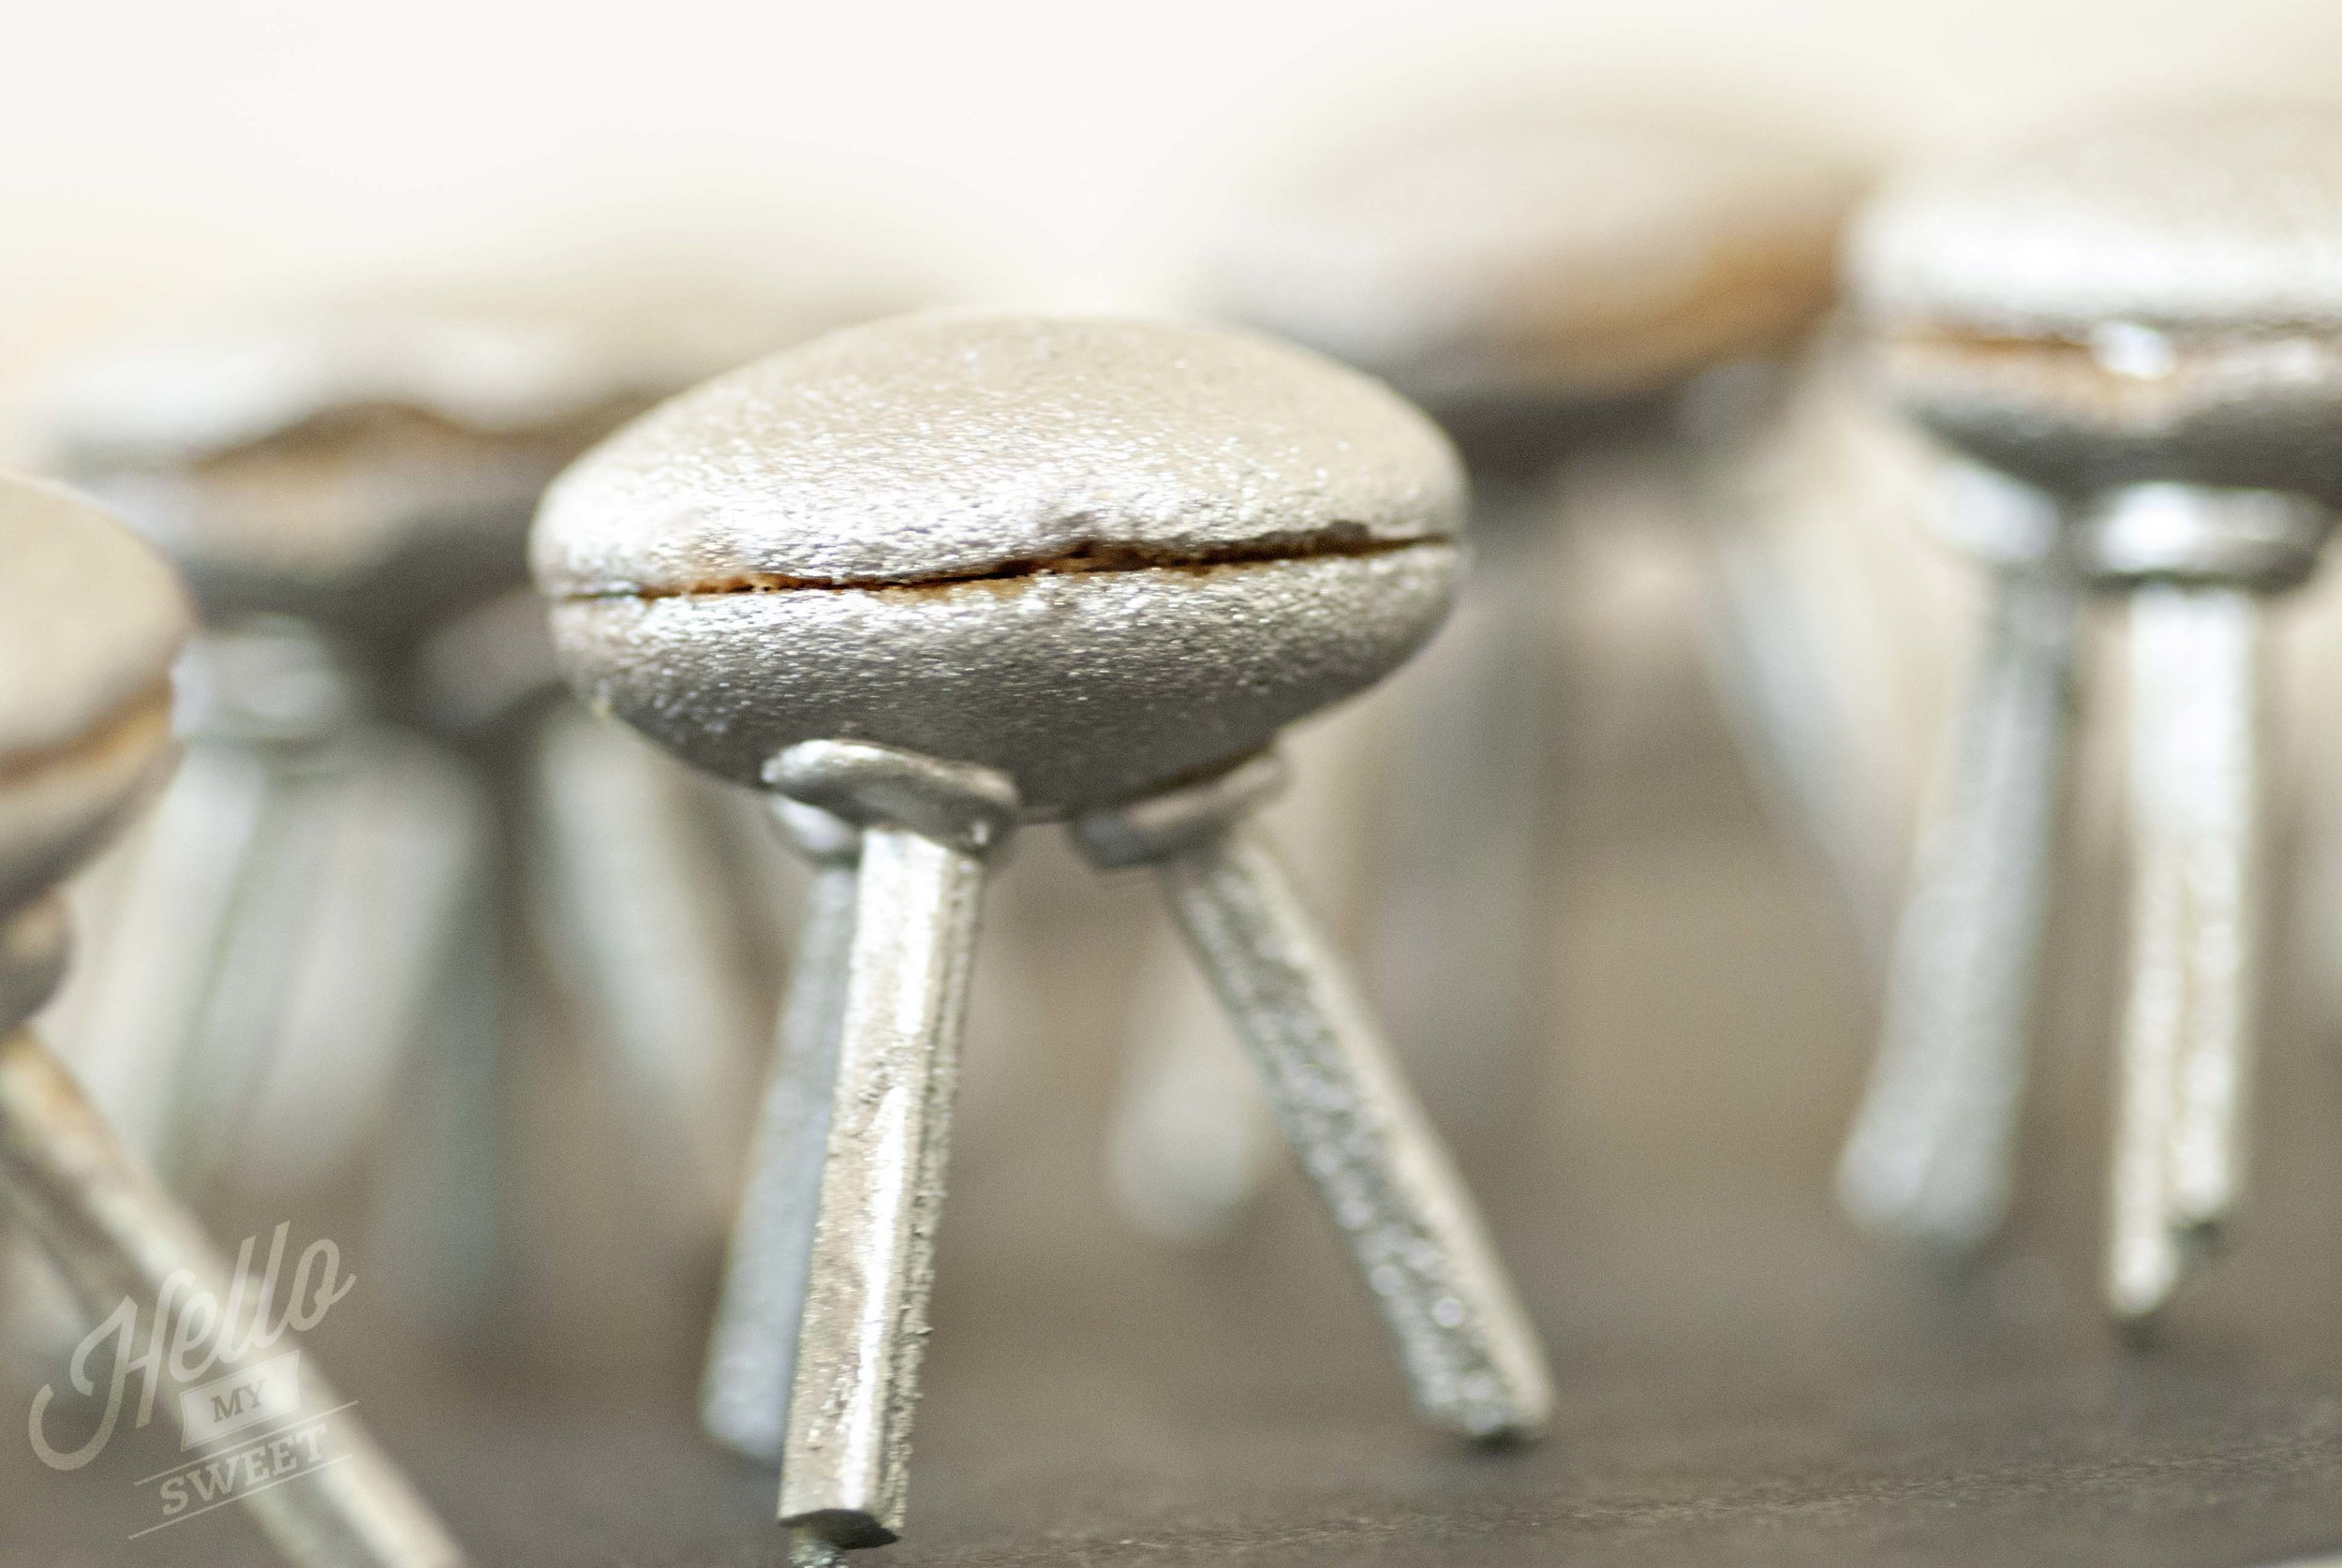
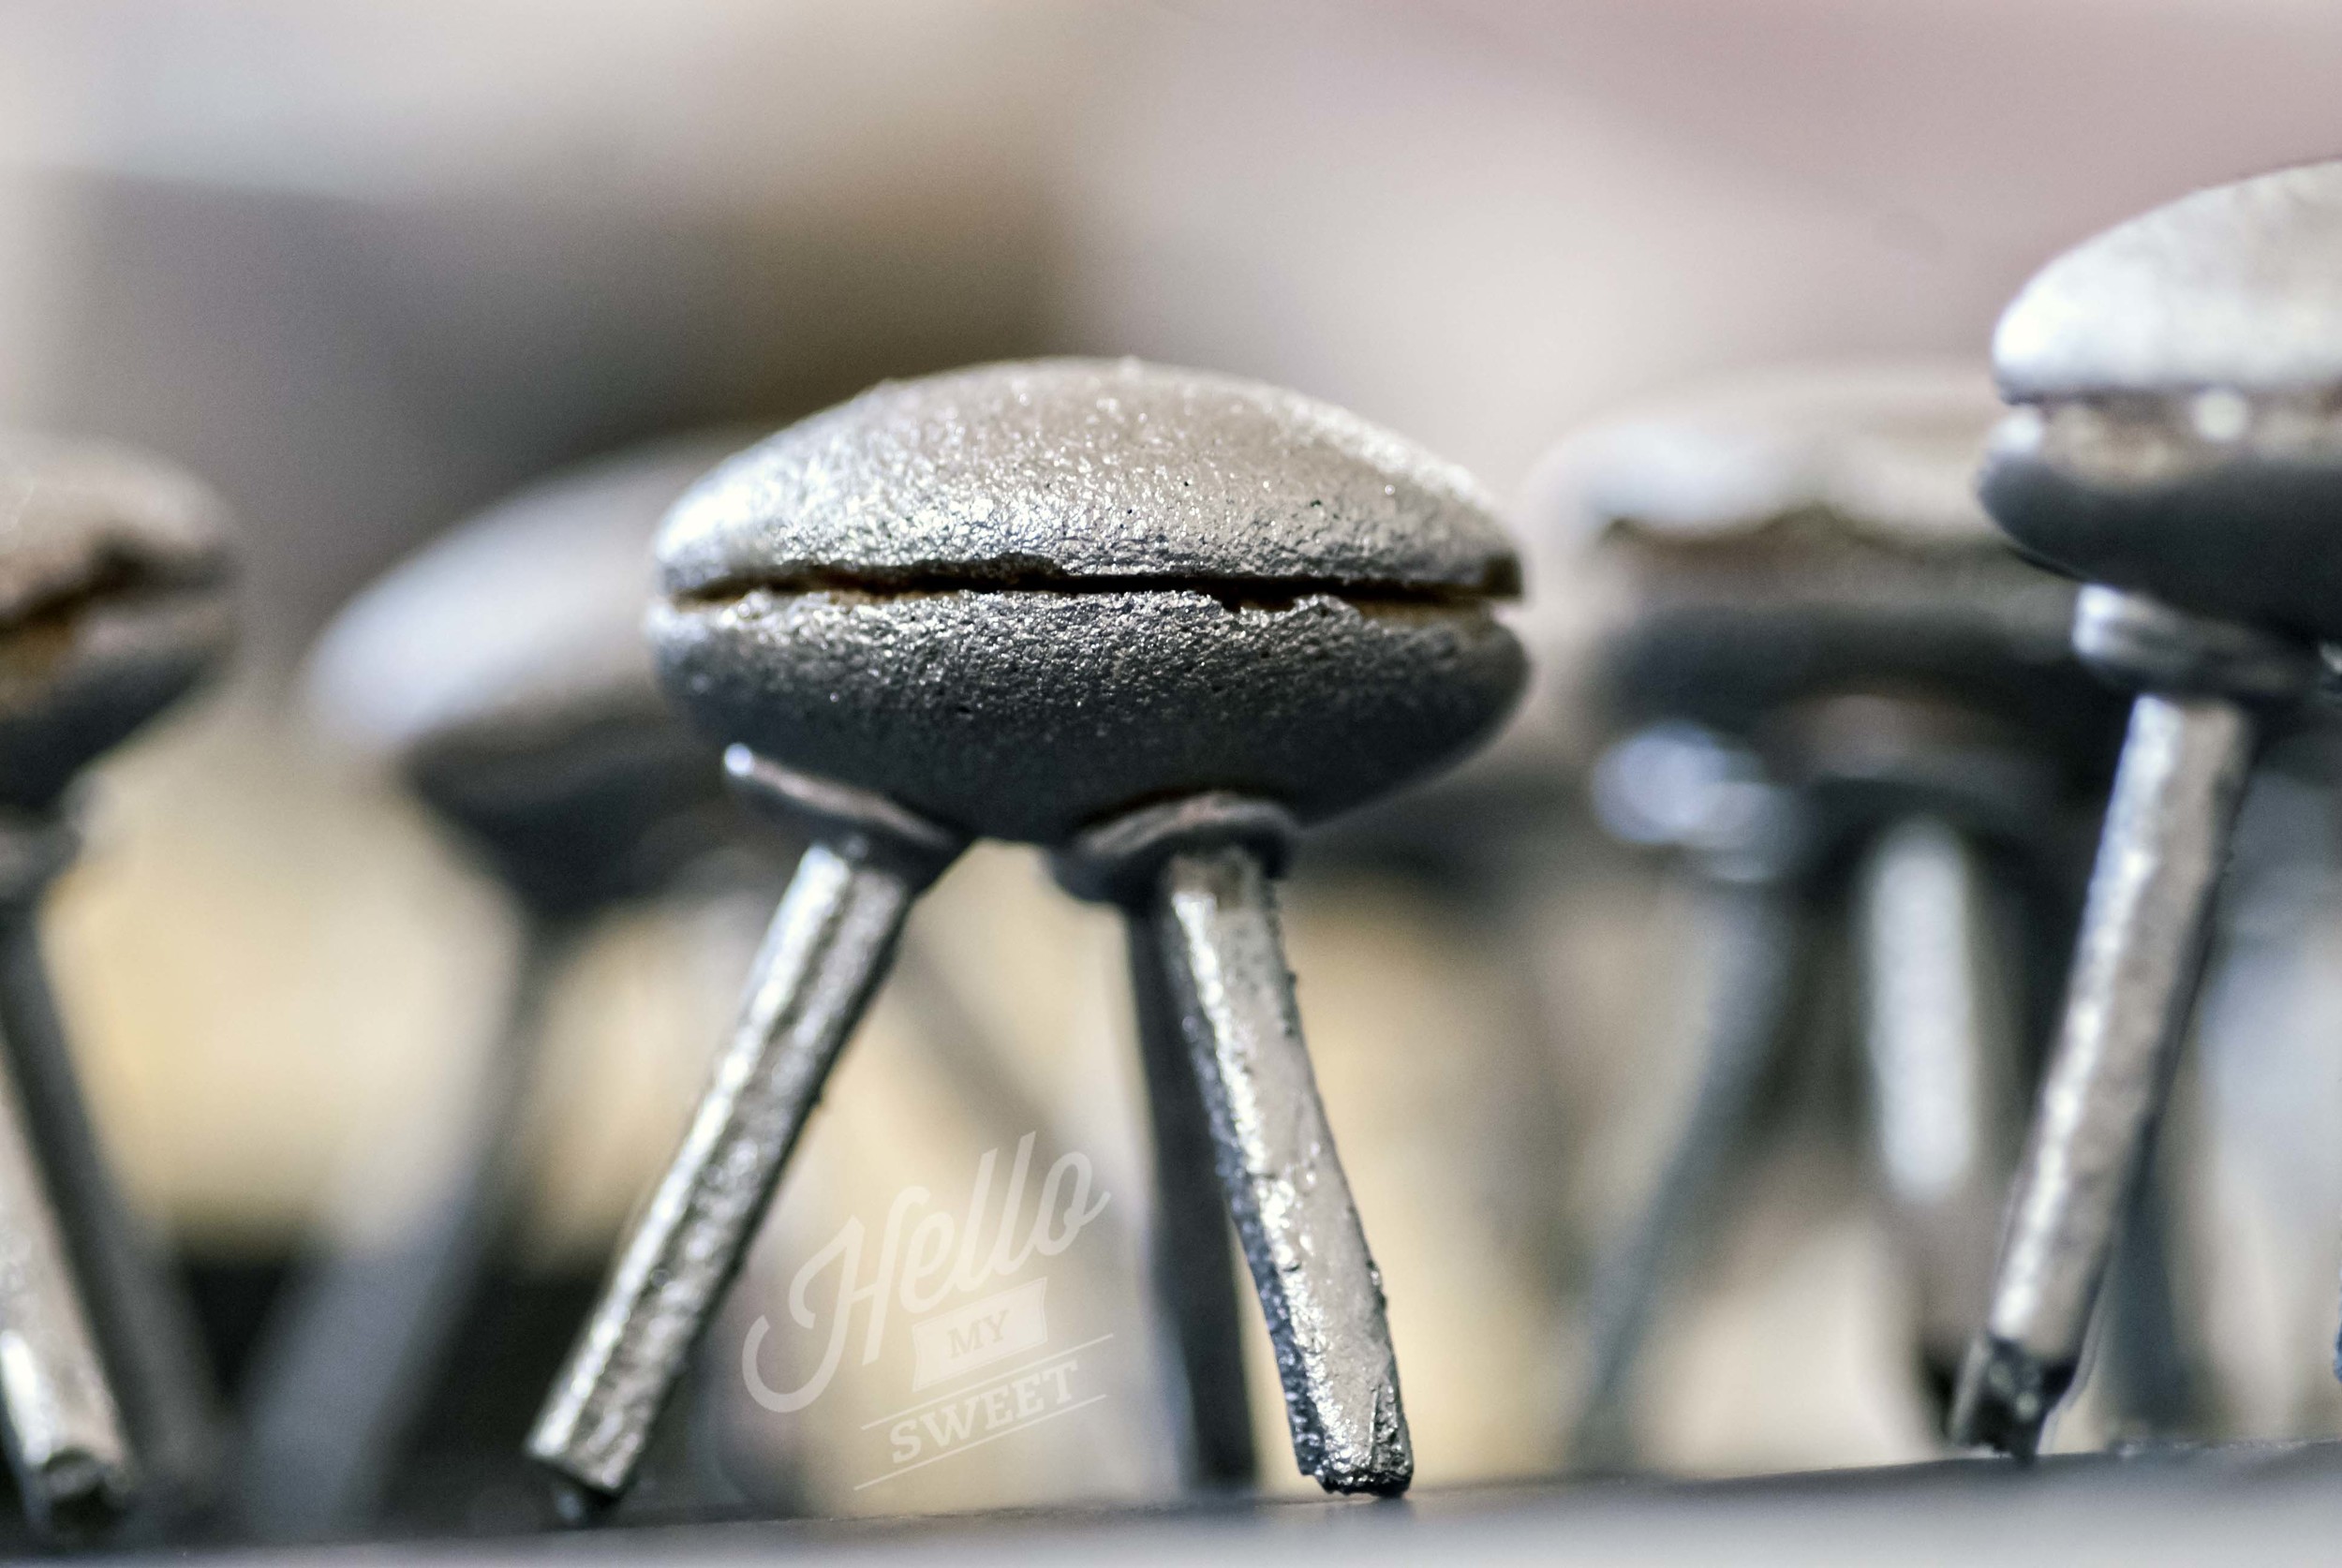
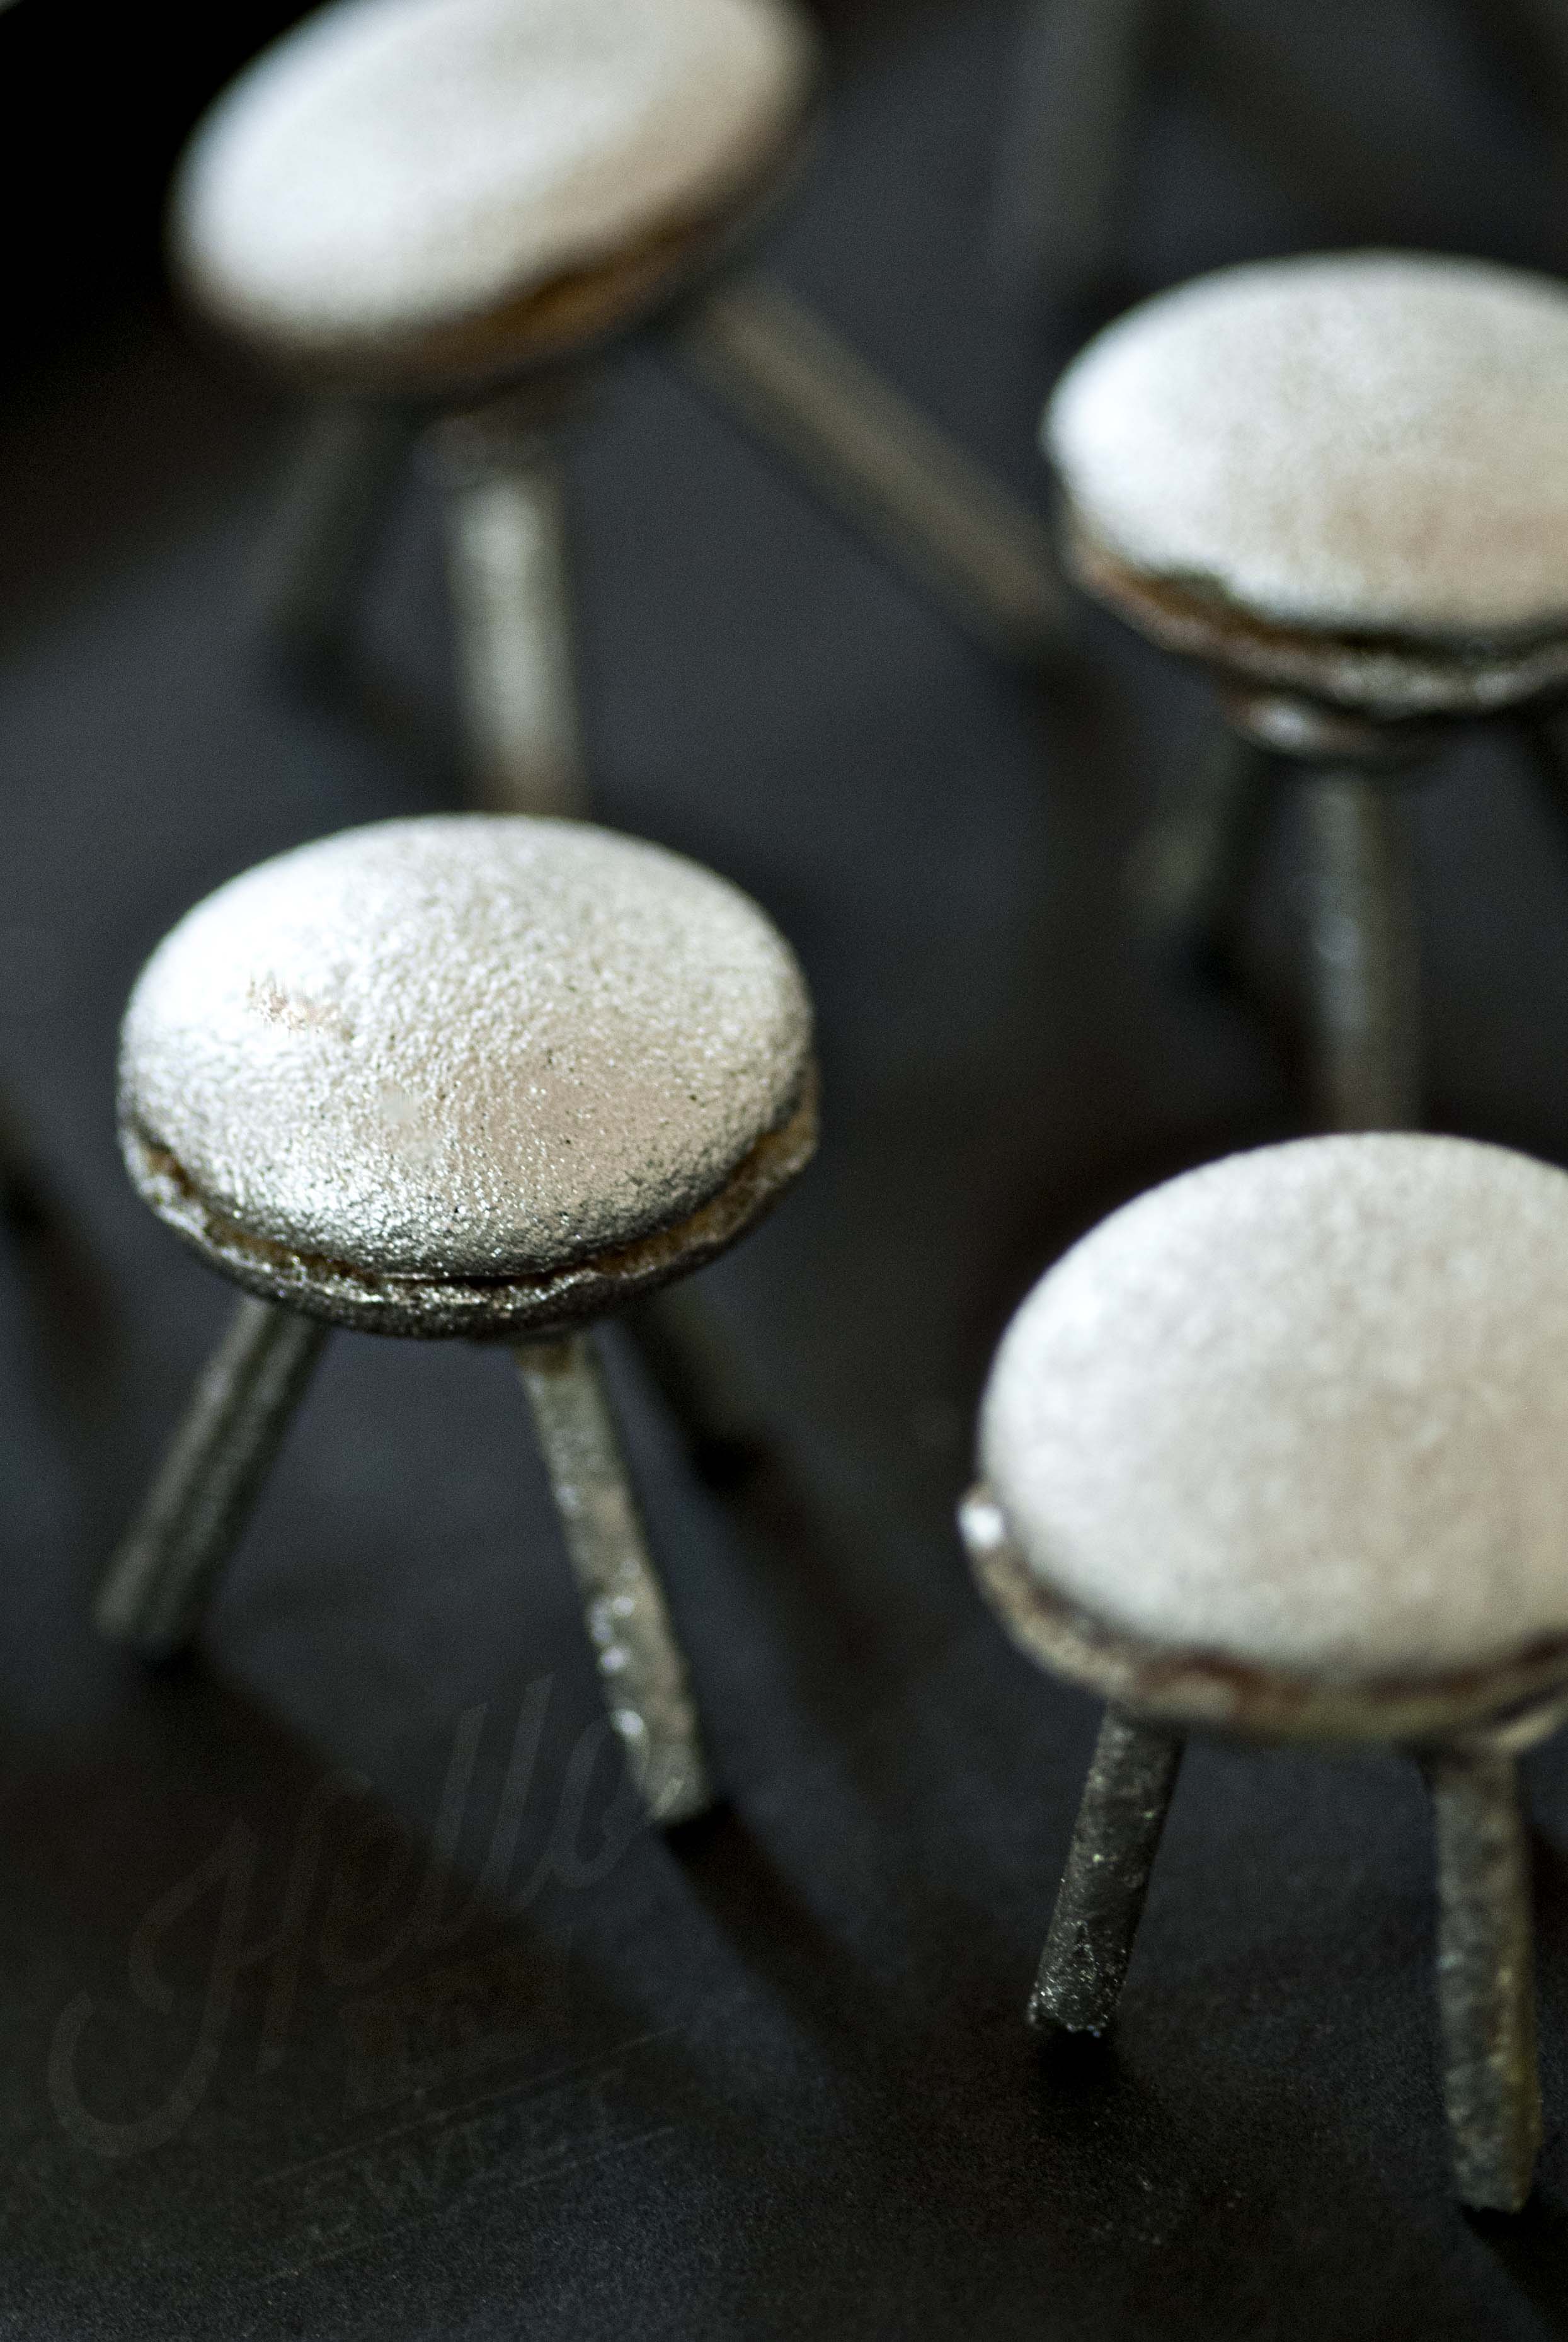
Our UFO cookies were truly a labor of love. These little cookies are a bit hard to construct but completely awesome. We sandwiched together Nilla Wafers with candy melt, then glued on "landing gear" using Pringles Honey Sticks cut to length and more candy melt. After they set we sprayed them with Wilton's Edible Color Spray in Silver.
How to create UFO Flying Saucer Cookie Treats
Materials Needed:
Nilla Wafers
Pretzel Sticks
Candy Melts
Edible Color Spray - Silver
Freezer Bag
Scissors
Tray lined with wax paper or parchment
Step One: Prepare your materials. Place and handful of candy melt into a quart sized freezer bag and seal, pressing out the air. Break your pretzel sticks to the desired length, usually 1-2 inches. Select your wafers, placing them flat side up on your tray.
Step Two: Microwave your candy melt in 30 second intervals, stopping when they are all soft and starting to melt. Knead the bag to distribute the heat evenly and melt the remainder of the candy. You do not want your candy to be too hot and drippy. This process can be repeated throughout the project to heat more candy or to re-heat candy that is too hard.
Step Three: Snip off a small part of one of the bottom corners of the freezer bag with the candy in it. Squeeze some onto a cookie, then place another cookie on to to sandwich them together, flat sides touching. Repeat this for all of the cookies and allow them to harden on your tray.
Step Four: Prepare more candy melt. Select three sticks and attache them with the candy melt to a cookie. It may be necessary to hold each stick for a few seconds to allow the melt to grab and hold as it cools. Try to use a steady hand and be patient :) Repeat until all of the cookies have pretzels attached.
Step Five: Allow the cookies to harden completely in a cool dry place. Do not refrigerate as they will become moist and crumble and fall apart. One they are ready, spray each side of each cookie with the color spray until they are shiny and metallic, then allow to dry.