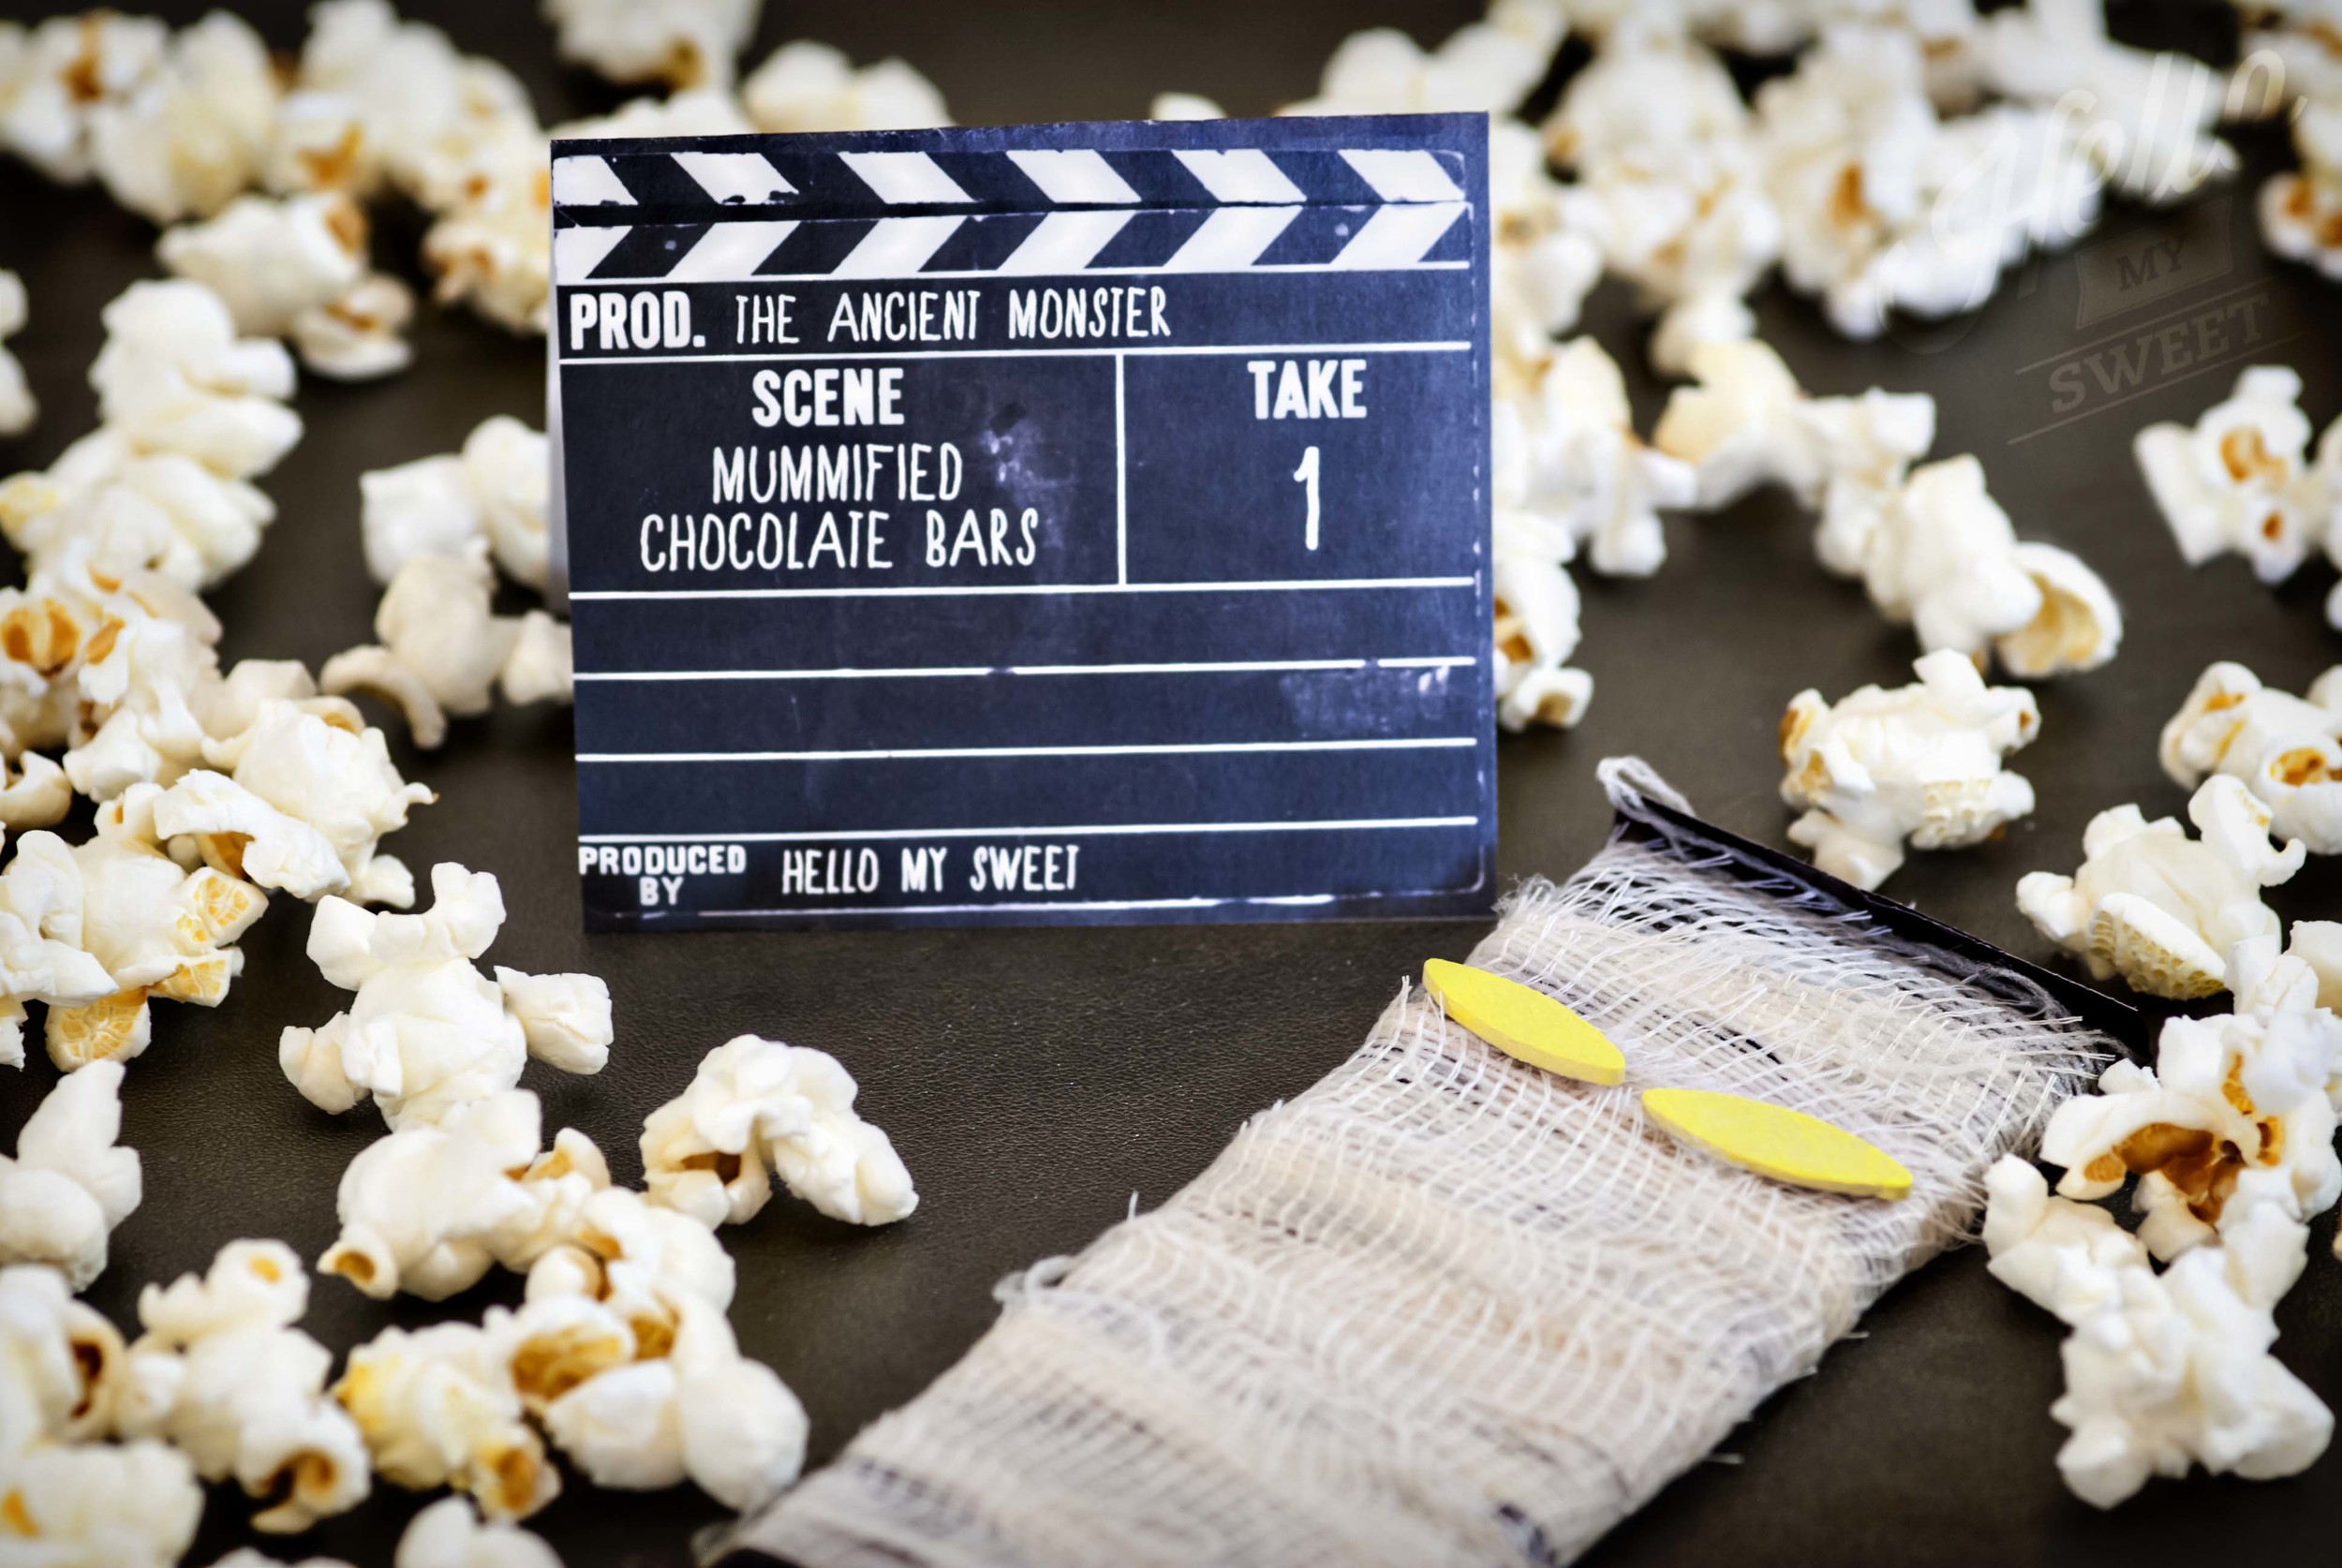
Mummified Candy Bars
How to create creepy old looking Mummified Chocolate Bars
Materials Needed:
Chocolate Bars
Gauze Rolls
Tea & Water
Neon Yellow Paper
Hot Glue or other craft glue
Scissors
Step One: Prepare your tea using one tea bag for each cup of water. Depending on how many bars you plan to wrap, you will need several cups of tea. Heat the water and tea bags in the microwave until the tea steeps, and allow it to sit until it is dark. Add the gauze and let it sit for at least an hour.
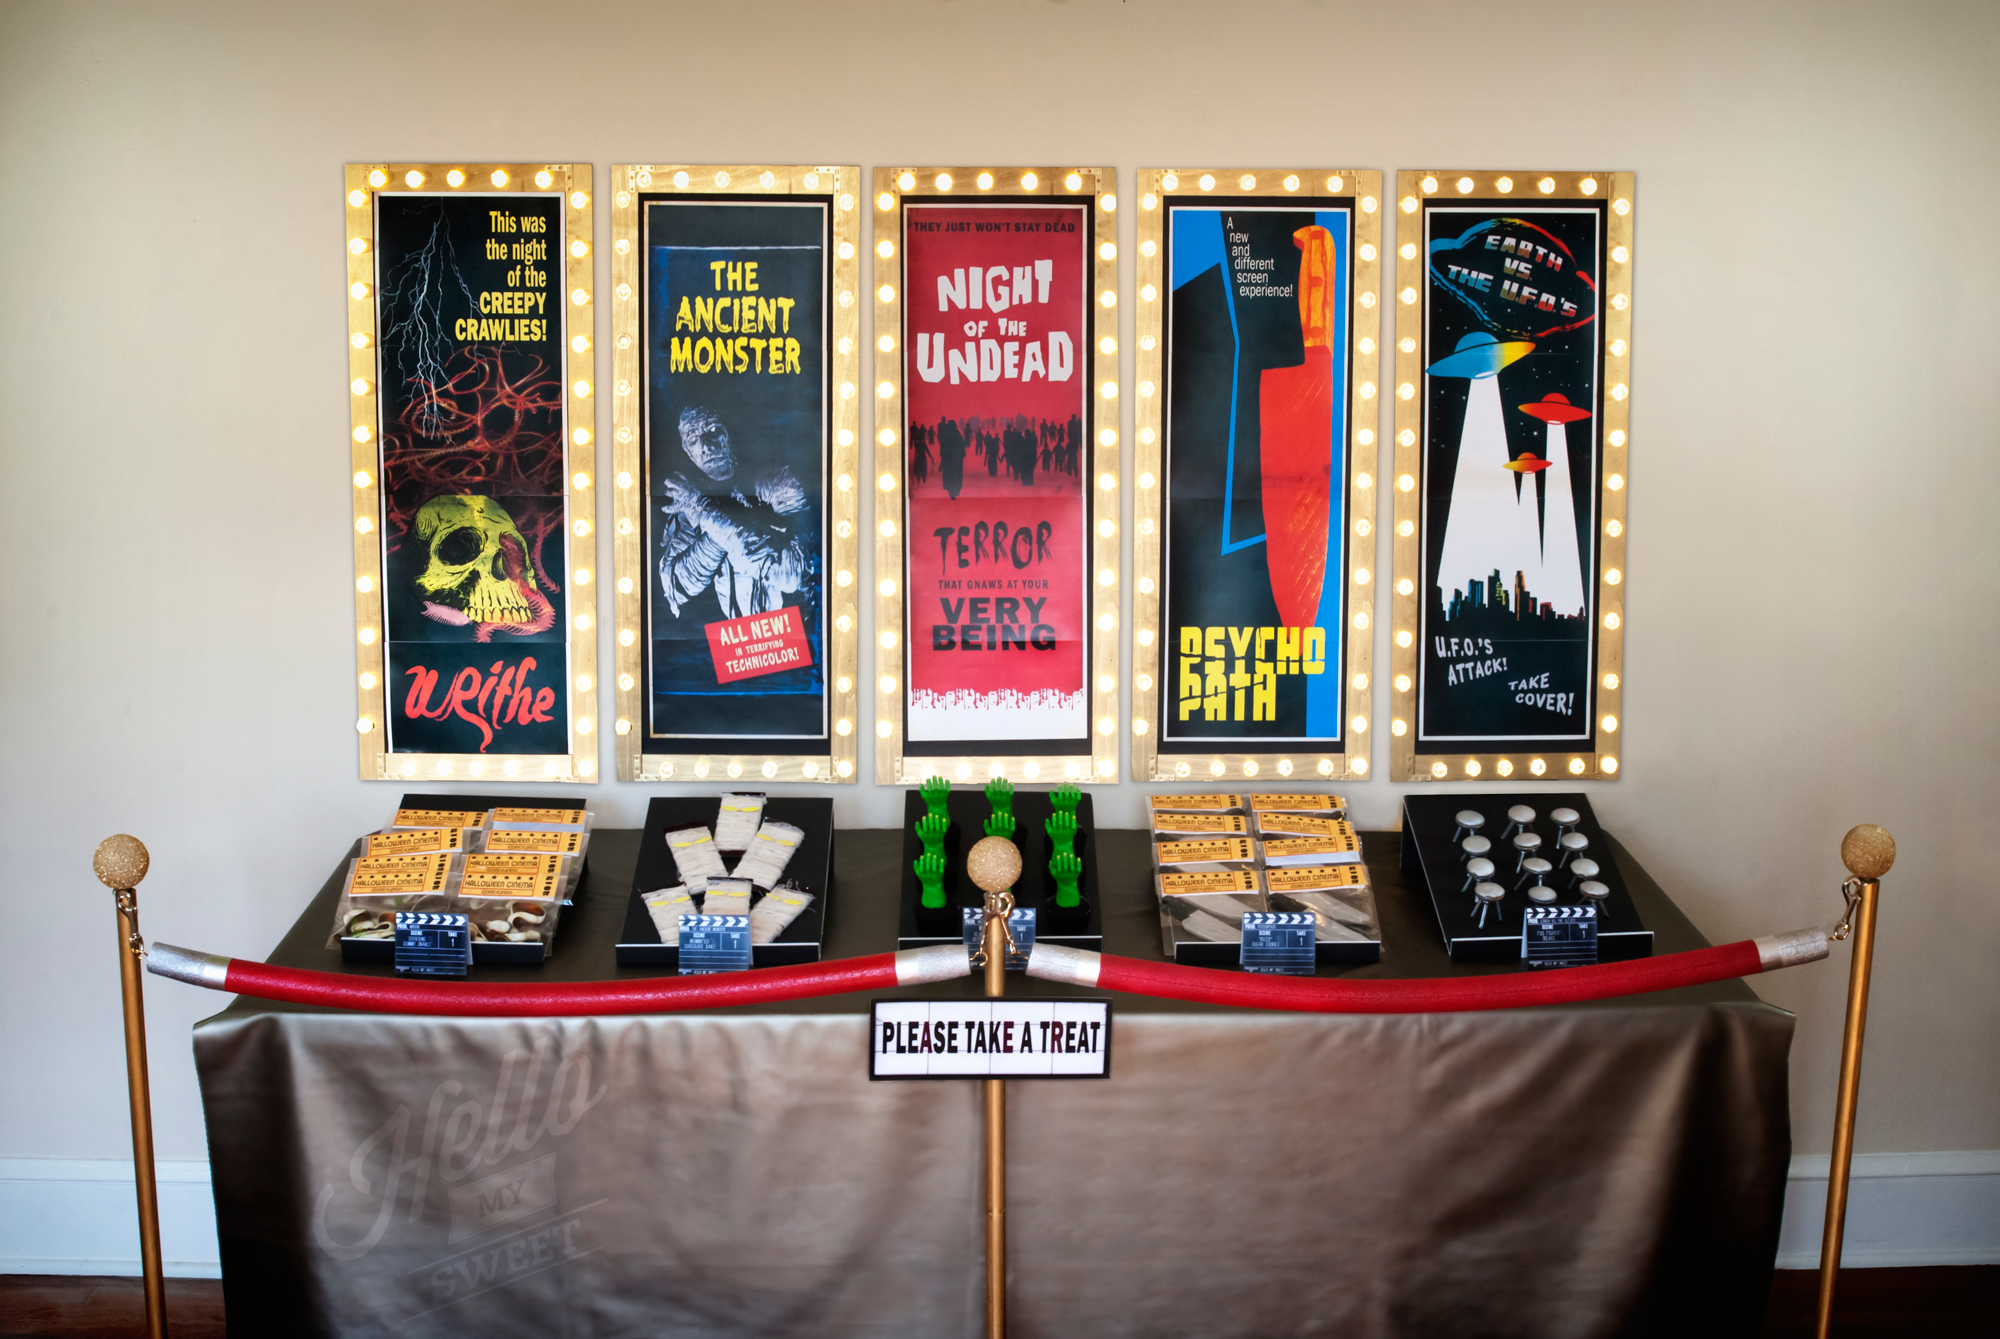
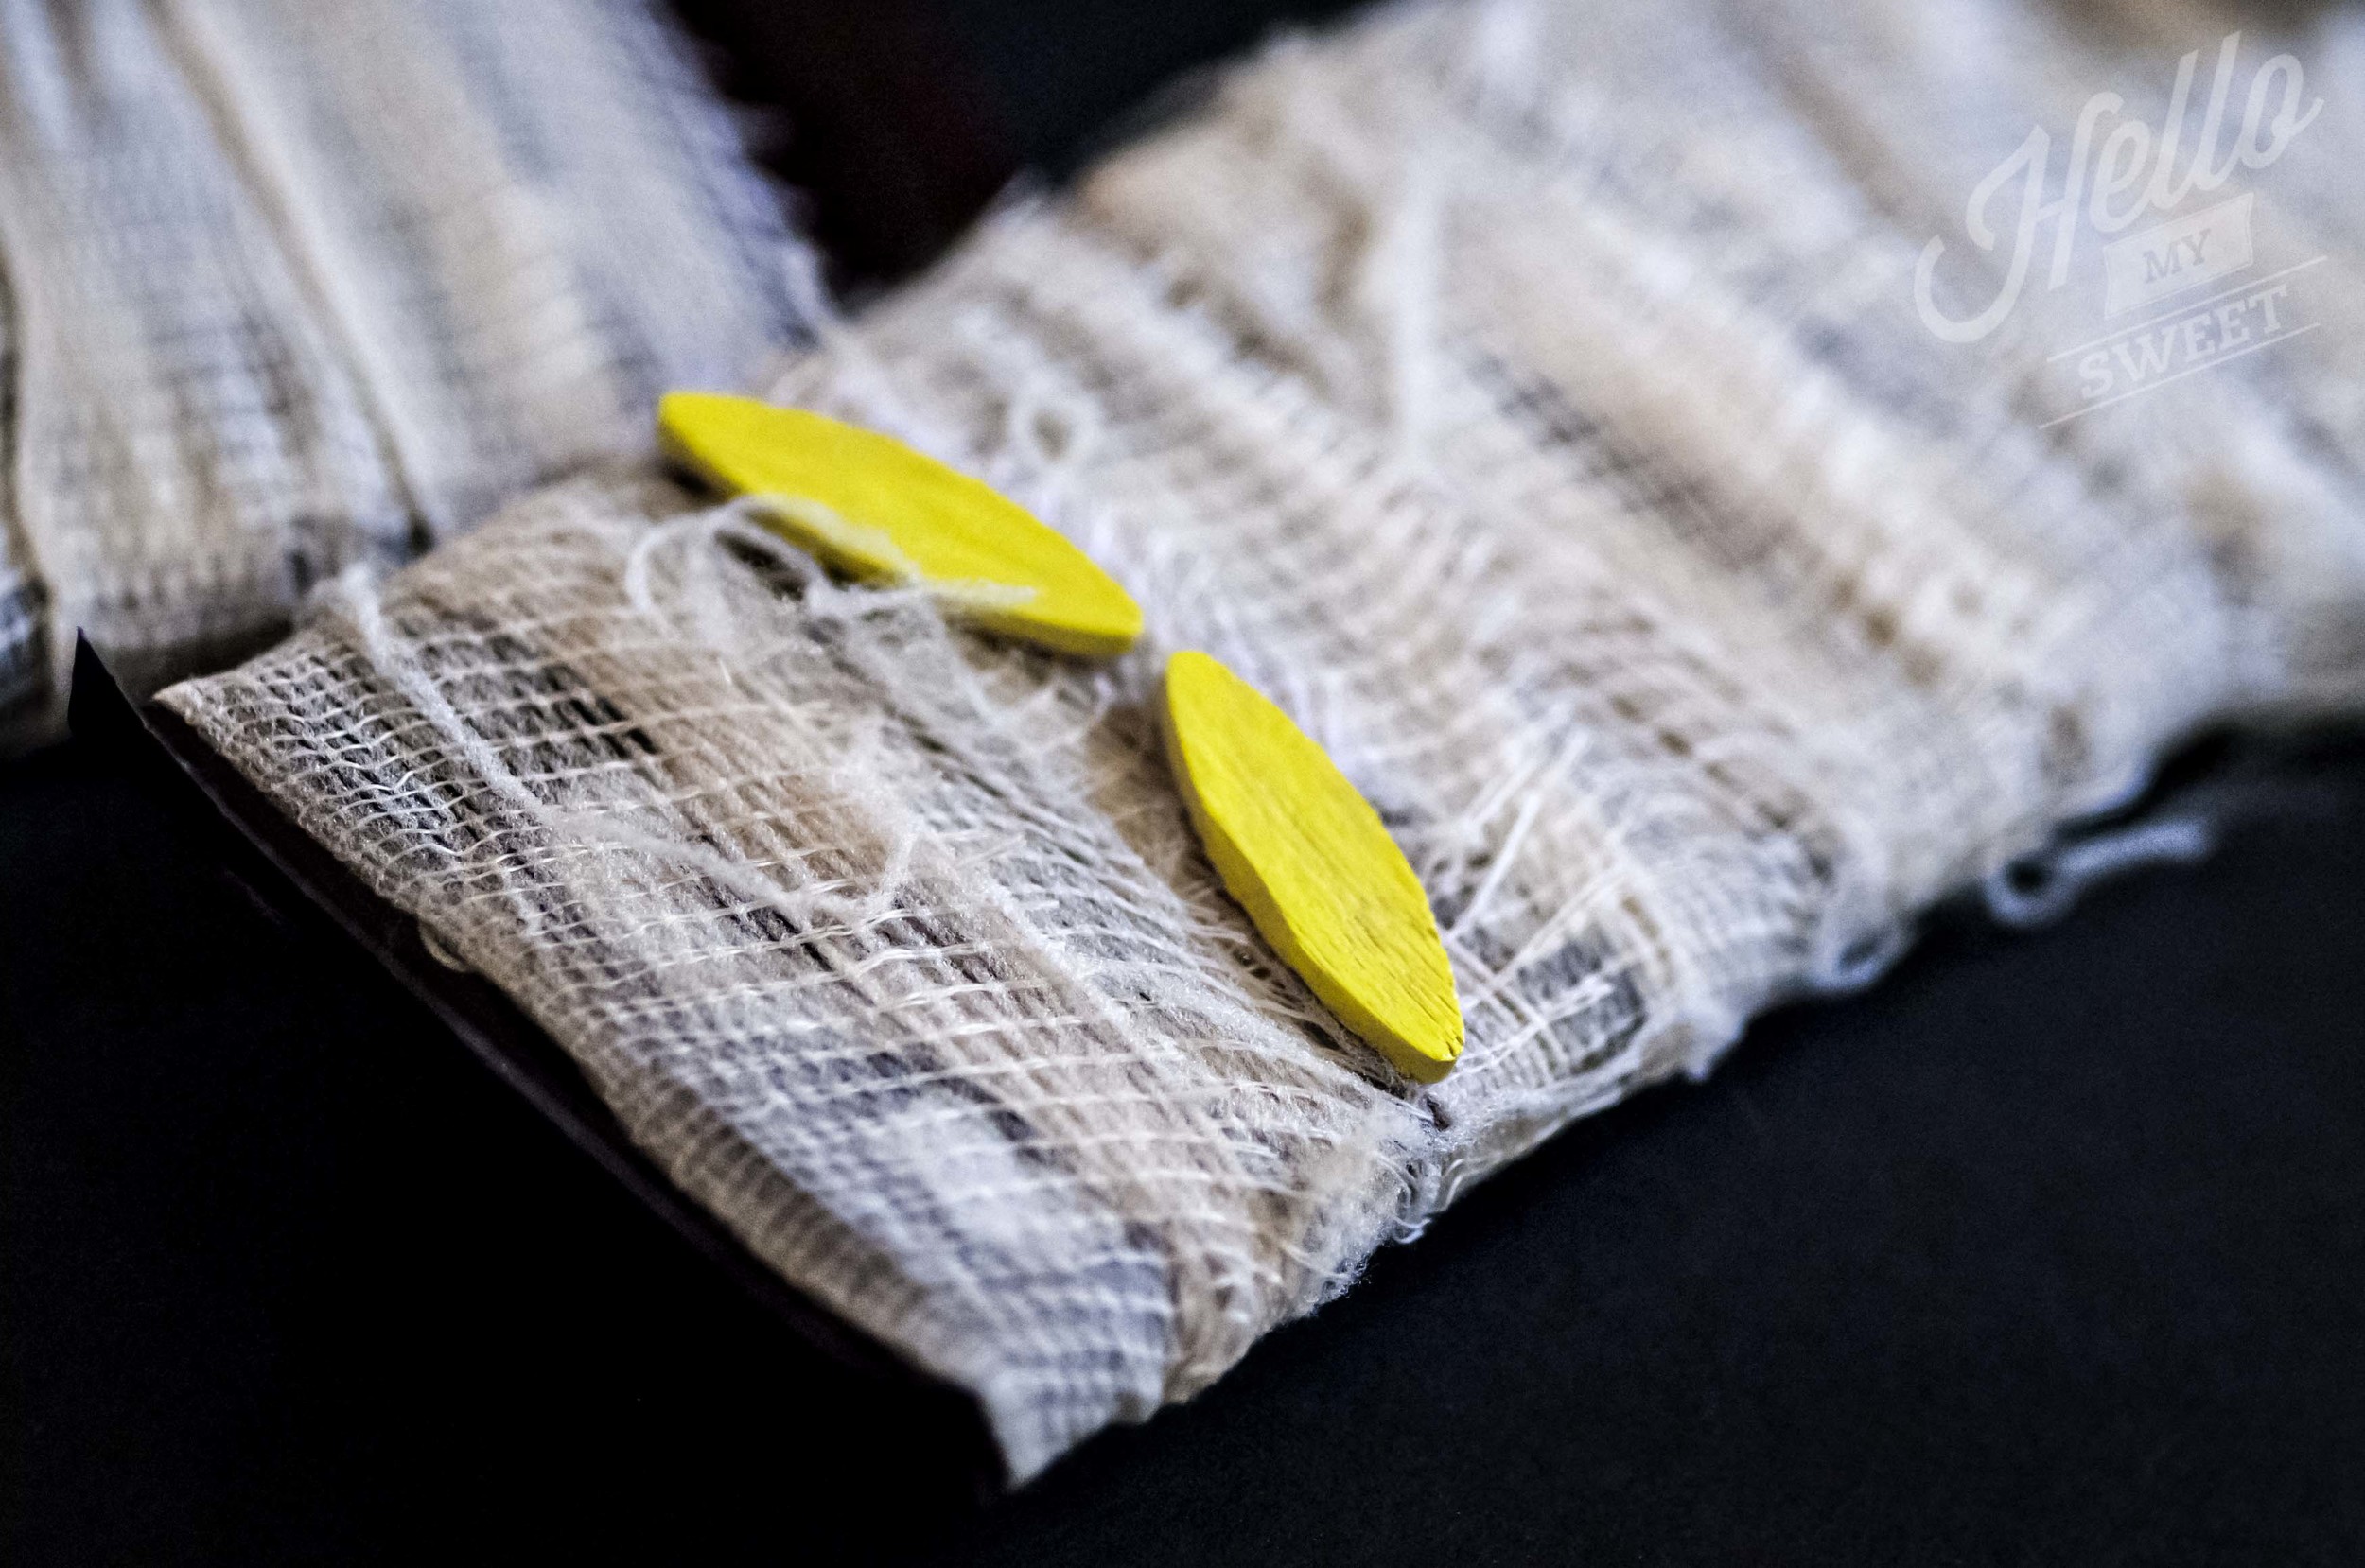
Step Two: While your gauze is soaking, draw small ovals onto your neon paper and cut them out. We really wanted our mummy to have eyes that matched the poster we used for inspiration, which meant glowing yellow eyes, no googly eyes!
Step Three: When the gauze has completed soaking, wring it out as dry as you can then drape it over an outdoor railing or hang. Make sure it is not hanging over top of anything that you wouldn't want tea to drip on!
Step Four: When your gauze is dry, take a pair of sharp scissors and cut down the length of the strip, dividing it in half. Afterwards, take your fingers to it, pulling and stretching it to create texture and fraying. Preheat your glue gun.
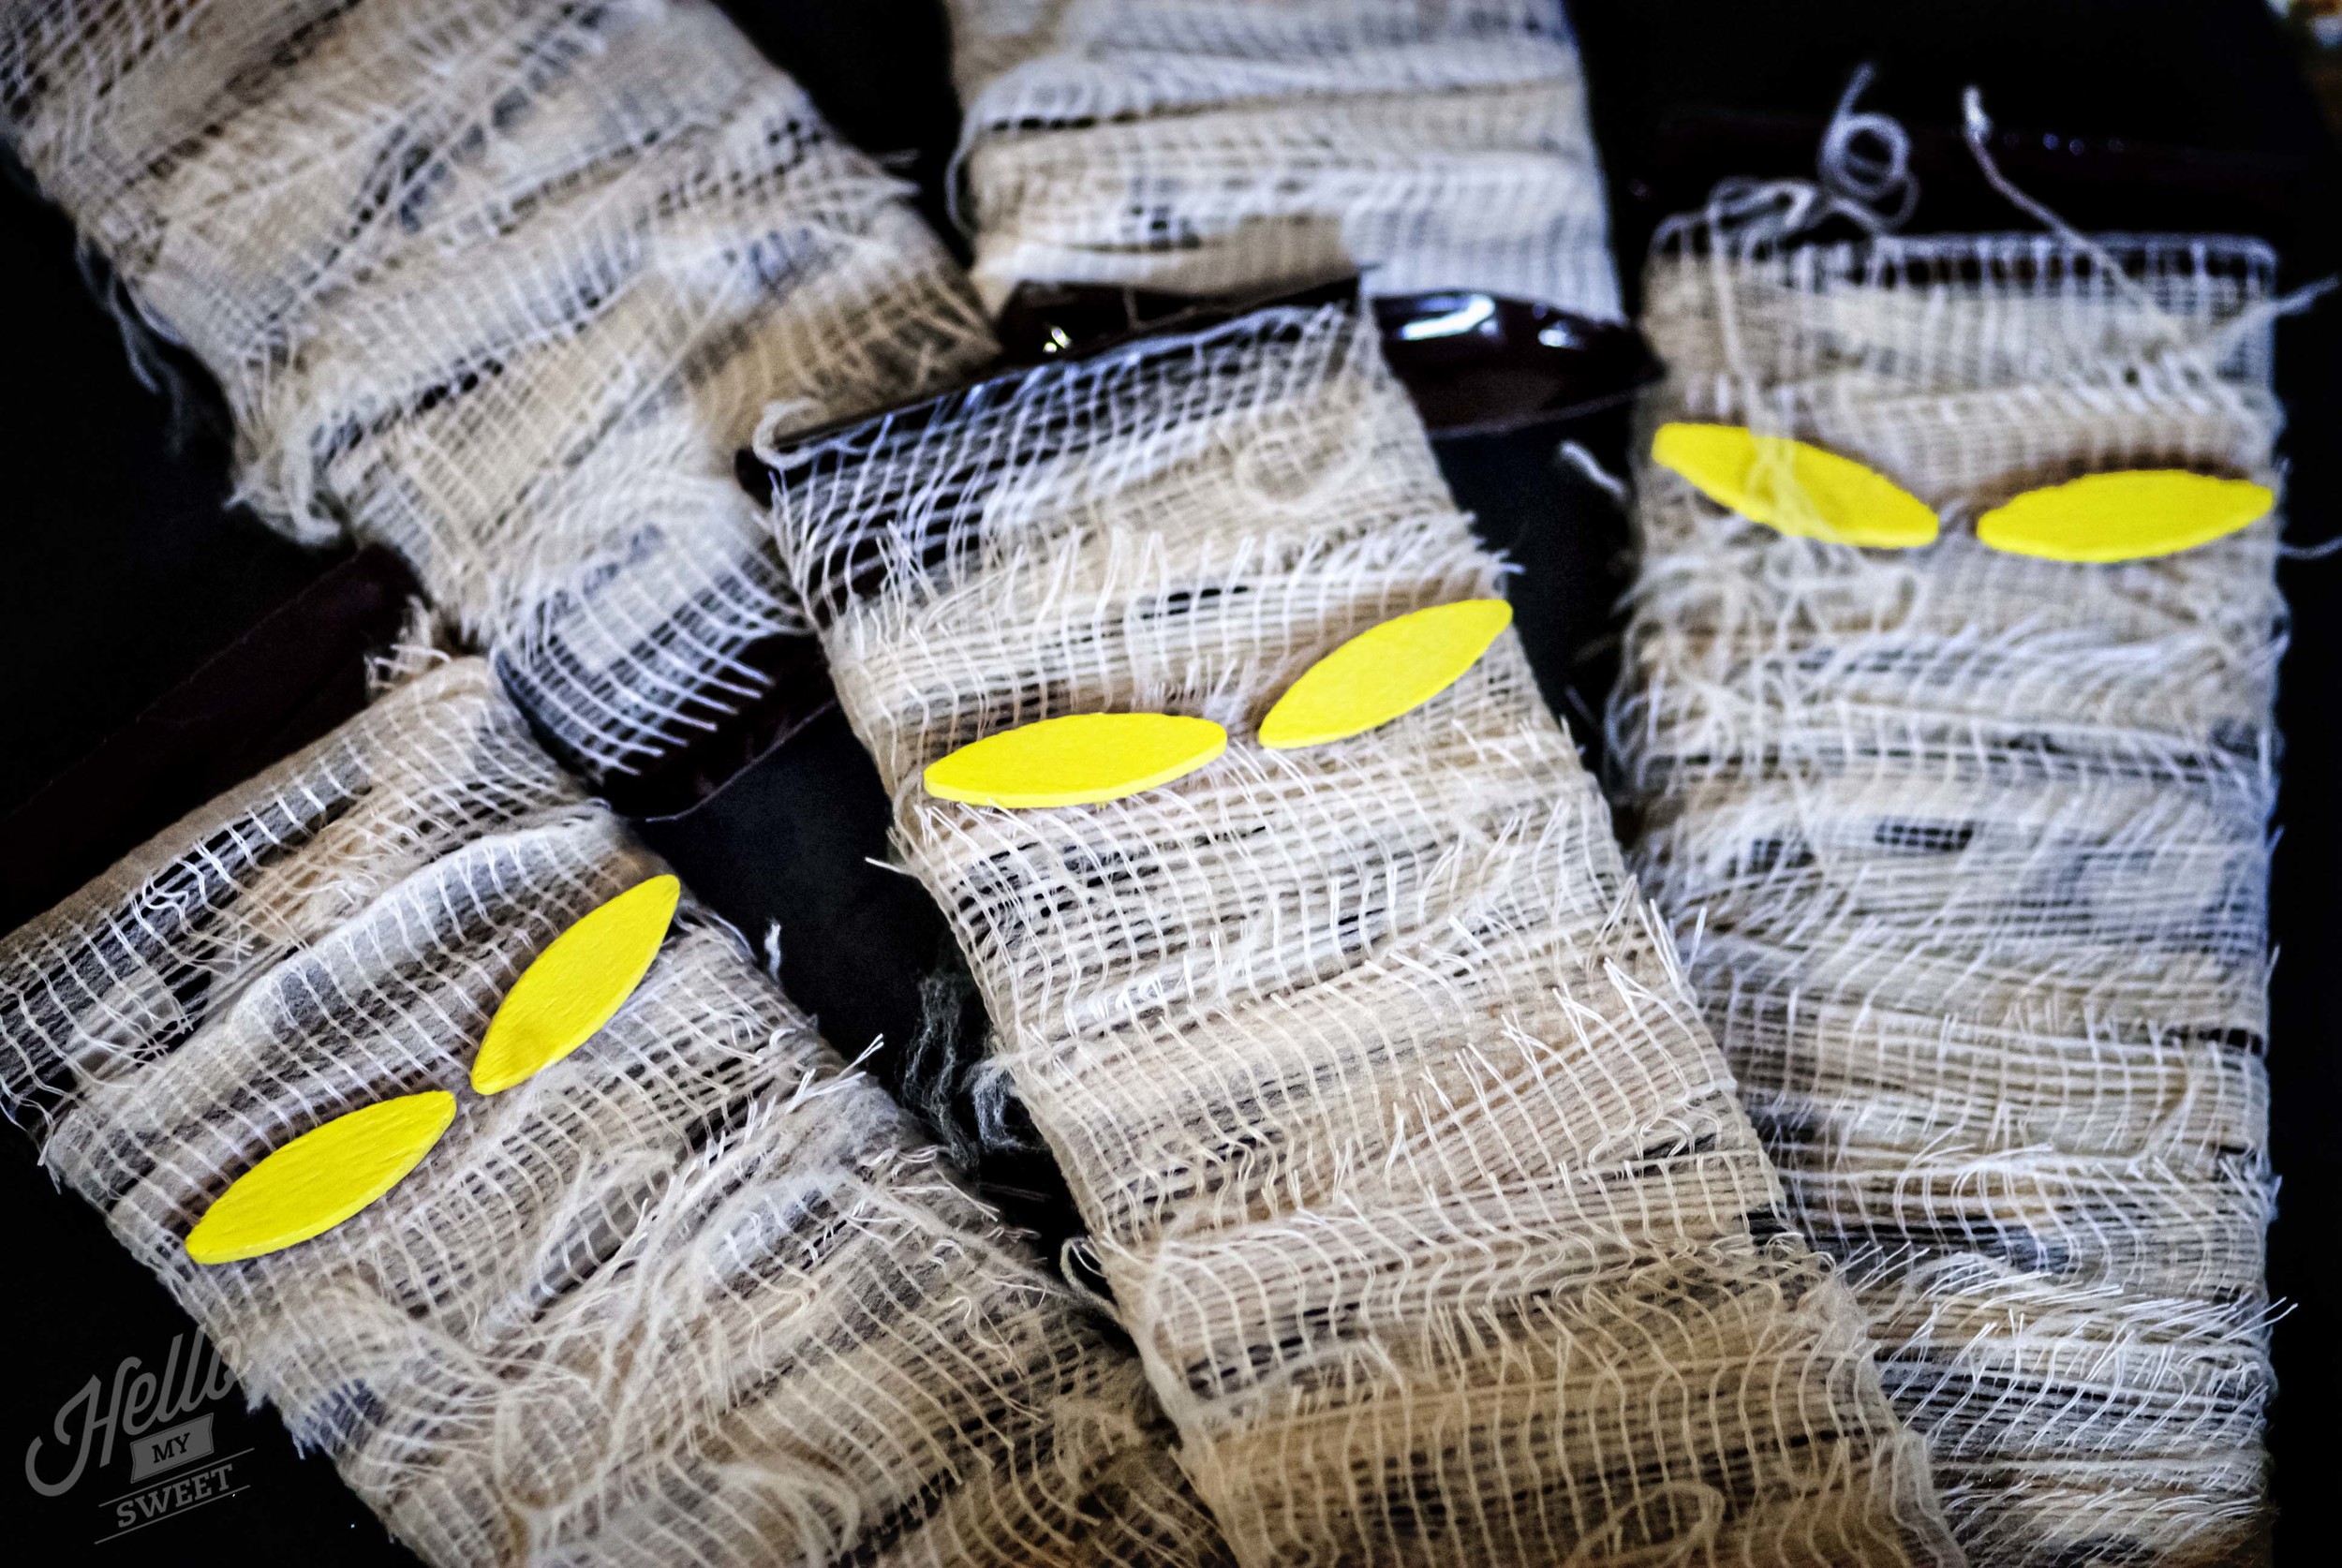
Step Five: Take one chocolate bar and one piece of gauze. Hold the gauze to one end of the bar and wrap and stretch the gauze in a zig-zag pattern around the bar until you reach the other end, then tuck it in place and add a dot of glue to hold it at each end. After the glue is dry you can go back in a perfect any areas that may not have been covered well by pulling on the gauze here and there. Repeat for all of your bars.
Step Six: Glue on the yellow ovals to represent the mummy eyes for each chocolate bar. All done!